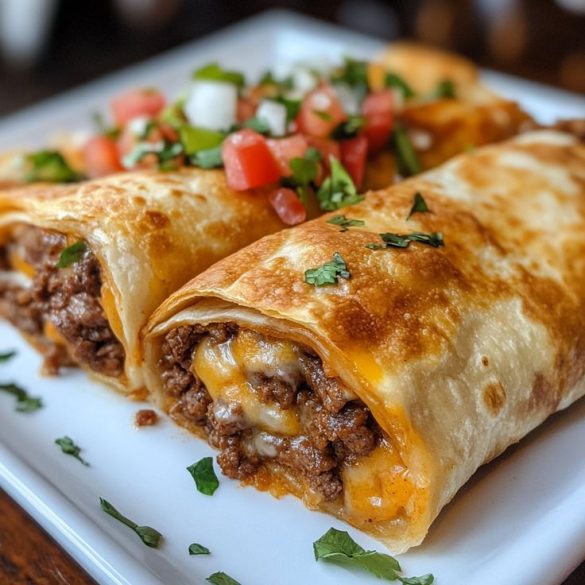
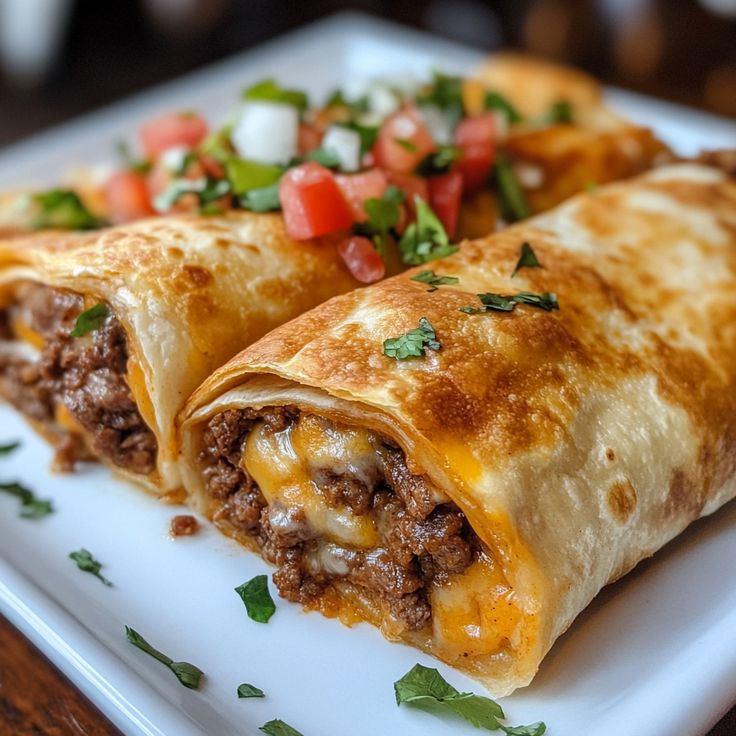
Welcome back, food lovers! If you’re craving the bold, rich flavors of Tex-Mex, you’re in for a treat—Beef and Cheese Chimichangas are on the menu! This family favorite will have everyone asking for seconds.
Can I use chicken instead of beef?
Yes! Chicken is a great alternative. Just make sure it’s fully cooked before adding.
Can I freeze chimichangas?
Absolutely! Wrap each chimichanga individually and freeze for up to a month. Fry or bake them from frozen, adding a few extra minutes of cooking time.
Can I make them spicy?
For a kick, add cayenne pepper to your beef mixture.
No refried beans?
Black beans are a perfect substitute. Just mash them slightly to create a creamy texture.

Ingredients
- 1 lb ground beef (450g)
- 1/2 cup diced onion
- 1 garlic clove, minced
- 1 tsp chili powder (add more for spice lovers)
- 1/2 tsp ground cumin
- 1/4 tsp salt
- 1/4 tsp black pepper
- 1 (15 oz) can refried beans
- 1 (8 oz) can tomato sauce
- 1 cup shredded cheddar cheese
- 6 (10-inch) flour tortillas
- Vegetable oil for frying to golden perfection
- [adinserter block="1"]
Instructions
1. Cook the Ground Beef
Start by cooking 1 lb of ground beef in a large skillet over medium heat. Stir occasionally until it turns a rich, caramelized brown. Once cooked, drain the excess grease to prevent your filling from becoming too oily. This step ensures a tasty, light chimichanga that won't feel heavy.
2. Sauté Onions and Garlic
Add 1/2 cup of diced onion and 1 clove of finely minced garlic to the skillet. Cook them together until the onions become soft and translucent, and the garlic releases its fragrant aroma. This step adds a sweet, savory depth to the filling.
3. Add Tex-Mex Spices
Next, sprinkle 1 teaspoon of chili powder, 1/2 teaspoon of ground cumin, 1/4 teaspoon of salt, and 1/4 teaspoon of freshly ground black pepper into the skillet. Stir everything well to coat the beef and onions with the spices. Let it cook for about 1 minute to release the full flavor of the spices. These seasonings are the heart of the Tex-Mex flavor in your chimichangas!
4. Mix in Refried Beans and Tomato Sauce
Add 1 can (15 oz) of refried beans and 1 can (8 oz) of tomato sauce to the skillet. Stir until the beans and beef mixture are well combined and have a smooth, creamy texture. Lower the heat and let it simmer for a few minutes, allowing the flavors to meld and the sauce to thicken. This makes the filling extra rich and luscious.
5. Assemble the Chimichangas
Lay out 6 large (10-inch) flour tortillas. Spoon about 1/4 cup of the beef-bean mixture onto the center of each tortilla, then sprinkle with 1/4 cup of shredded cheddar cheese. The cheese will melt during cooking, binding everything together with a gooey, delicious touch.
6. Fold and Roll the Tortillas
To wrap your chimichangas, fold the bottom of the tortilla over the filling, tuck in both sides, and roll it up tightly like a burrito. This keeps the filling securely inside while frying, so your chimichangas stay neatly packed.
7. Heat the Oil for Frying
In a large skillet, heat about 1 inch of vegetable oil over medium heat. You want the oil to be hot but not smoking, so it's perfect for frying and giving the chimichangas their signature crispy exterior.
8. Fry the Chimichangas
Carefully place each rolled chimichanga seam-side down in the hot oil. Fry for 2-3 minutes on each side, or until they turn a beautiful golden brown. Flip them gently to avoid unrolling. The result is a perfectly crispy shell with a gooey, flavorful filling inside.
9. Drain and Serve
Once fried, remove the chimichangas from the skillet and place them on paper towels to drain excess oil. Serve them hot and crispy, garnished with your favorite toppings like sour cream, guacamole, salsa, or shredded lettuce for added flavor and texture.
Enjoy these delicious, homemade Beef and Cheese Chimichangas as a meal that brings restaurant-quality Tex-Mex right into your kitchen!"
Notes
1. Use Lean Ground Beef for a Healthier, Grease-Free Option Opt for lean ground beef to create a luxurious and tender filling without the extra grease. It keeps your chimichangas light while delivering excellent flavor and texture. 2. Add Crushed Red Pepper for Extra Heat Craving more spice? Kick it up a notch by adding crushed red pepper flakes along with the chili powder. This addition will give your chimichangas an extra layer of heat, perfect for spice lovers! 3. Try Mashed Pinto or Black Beans for a Twist While refried beans are a classic, don't hesitate to experiment with pinto or black beans. Simply mash them well before mixing into the filling to maintain the creamy, smooth texture that balances the dish beautifully.

