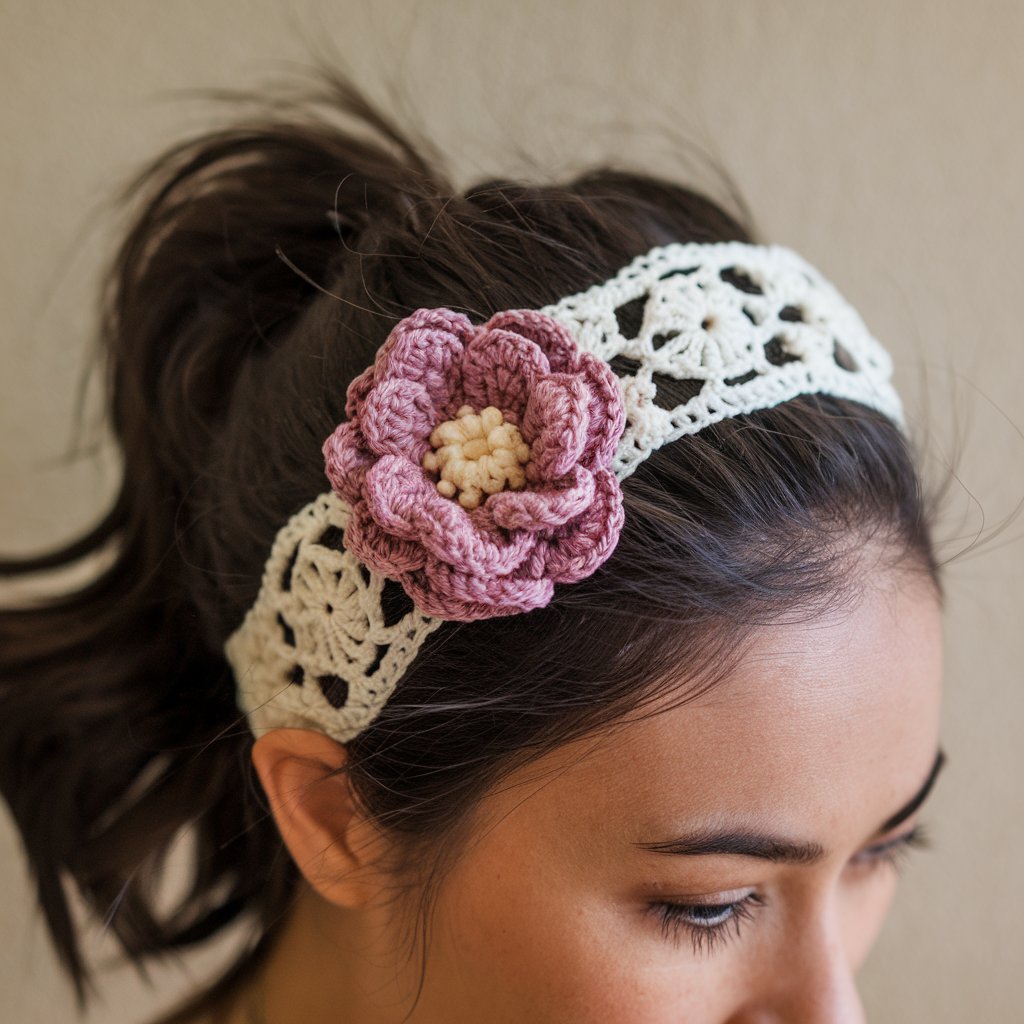
The Antonia Headband is here! This super easy and quick pattern is perfect for all skill levels.
During a recent trip to Chile, where I spent every day at the beach, I still managed to create this beautiful headband in several colors for my little niece.
I’m excited to share this pattern with you.
This headband is crafted from 100% superwash Merino yarn from Knitcrate, which is a category 4, worsted weight yarn. It’s ideal for fall and winter wear!

This light pink headband is made from 100% cotton and falls into category 2. It’s wonderfully light and ideal for spring and summer. However, because cotton lacks stretch, the ribbed brim may become loose. If using cotton, consider making the ribbed brim slightly smaller than usual for a better fit.
Materials
- 5 mm Crochet Hook
- Tapestry Needle
- Measuring Tape
- Category 4 Yarn (This is the yarn used)
- Scissors
Stitches to Know:
- Chain
- Slip Knot
- Slip Stitch
- Single Crochet
- Half Double Crochet
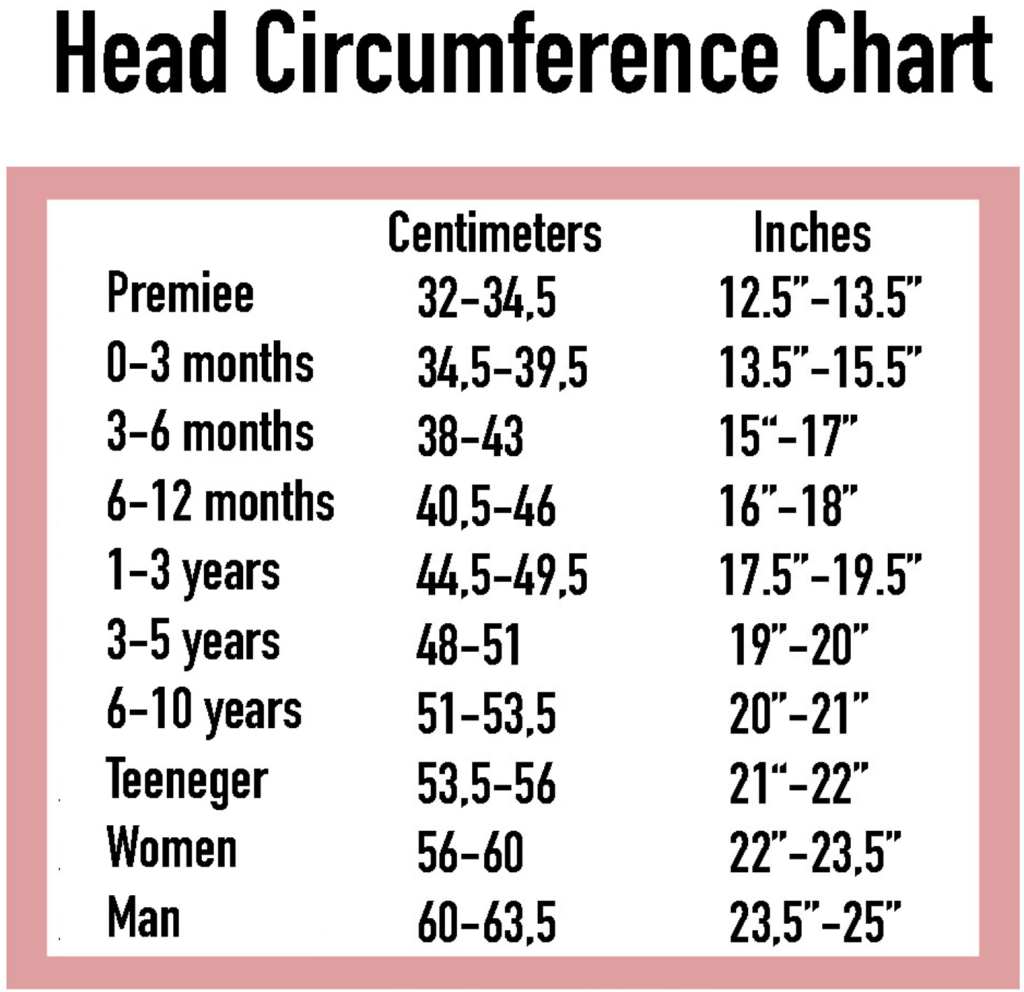
Note: The following pattern is for a 6-12-month-old baby. A chart with measurements for different sizes is available at the end of this page.
Pattern: Ribbed Brim
- Foundation Chain:
- Chain 6.
- Row 1:
- Single crochet in the second chain from the hook. Continue with single crochet in each chain, totaling 5 single crochets.
- Rows 2-72:
- Chain 1, turn your work. Single crochet into the back loop of the first 4 stitches (chain 1 does not count as a single crochet). For the last stitch of each row, single crochet through the full stitch as usual.

The width of my ribbed brim measures 1.5 inches (3.5 cm).
Note: To determine the length of your headband (circumference), crochet until it reaches 2 inches (5 cm) less than the desired total. For a 12-month-old baby with a head circumference of 18 inches, stop crocheting the brim when it reaches 16 inches. This adjustment is necessary because the stitch is quite stretchy, and we want to ensure the headband fits snugly around the baby’s head.

Here is a measurements chart to guide you in making your brim.

Once you have crocheted the required number of rows for the circumference, proceed by joining the two ends to close it.

Pass the hook through the first stitch, grab the loop from the other end, and pull it through.
Chain 1 and single crochet along the edge to close the brim.
Chain 30 and join the ends with a slip stitch.
Row 1: Chain 1 and work a half double crochet in each chain (30). Join this row with a slip stitch in the first half double crochet.
Rows 2-6: Work half double crochet around, using only the back loop (30 stitches).


After completing the rectangle, join the last row with a slip stitch and leave a long tail for forming the bow. Attach it to the headband.
To create the bow, fold the rectangle in half and wrap the yarn around it, adjusting the tension to be neither too tight nor too loose.
Once the bow is secured, wrap the yarn around the headband to attach the bow.
Before running out of yarn, weave in the end with a tapestry needle to ensure it’s securely fastened.
And there you have it! Your headband is complete—easy, quick, and beautiful!
Feel free to share your finished project on social media!

